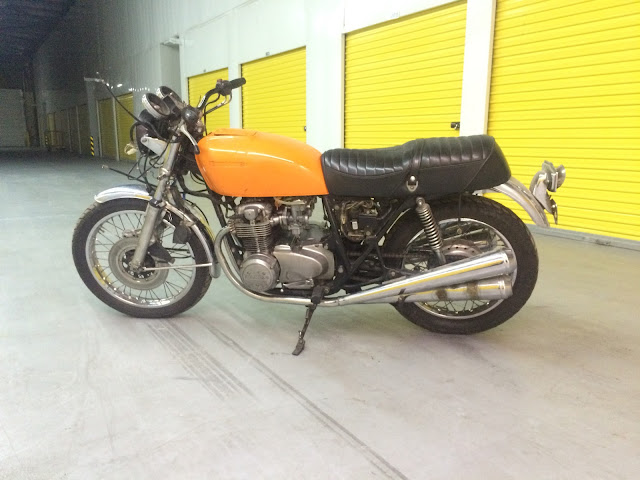
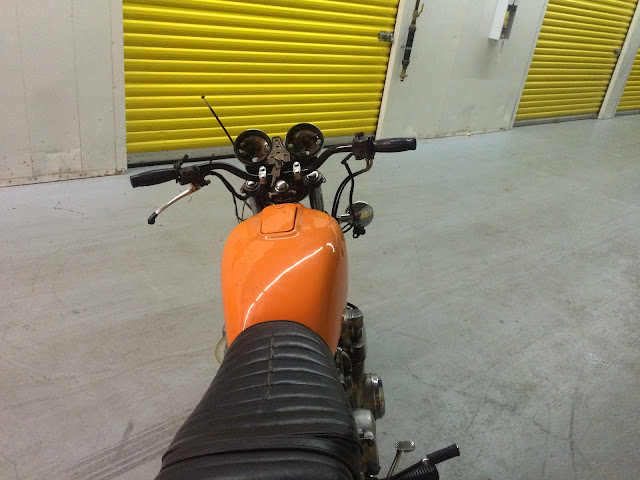
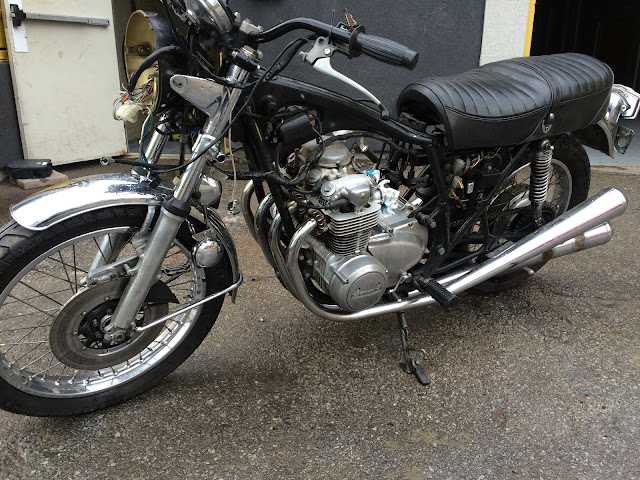
1978 CB550K Restomod

Carb Kit

All 4 Carbs
This kit will contain the parts for ALL 4 Carbs for some models that are impossible to find carb kits for typically.
We have assembled these kits using the same parts we offer separately.
All the rubber parts are a NBR Buna rubber to work more effectively with new fuels that contain a lot of alcohol additives.
Kits are available with or without fuel crossover tube o-rings
CB550 Fours '78
CB650 Fours '79-'80
CB750 Fours '77-'78
Also CB750 Auto's '76-'78
The kits will contain the following parts
4 - Float Bowl gaskets4 - Float Bowl gaskets
4 - Float needles
6 - Fuel Crossover o-rings*
4 - Fuel Drain screw o-rings
4 - Air Screw o-rings
4 - Air screw washers


cost 79.95 and includes the float needles... search the net, SOHC fours forum is good place to go for info
 
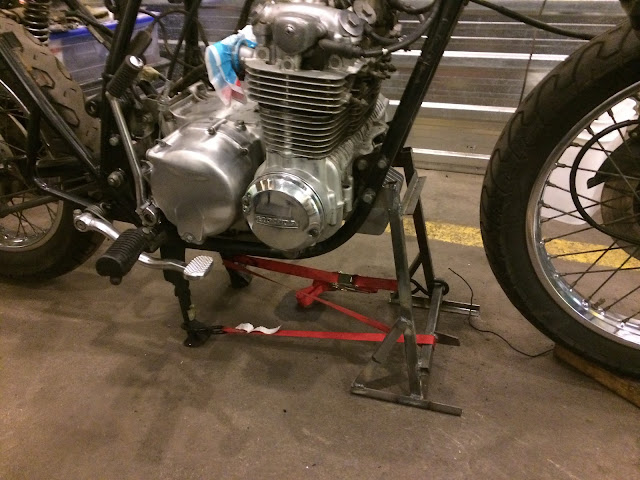
So, just got back from the workshop and I'm pleased to announce that the engine doesn't sound like death in a can. I am confident that I can get away without opening up the engine over the winter. That's a huge relief to me; I want to get this on the road for spring, and everything else just needs cosmetic work and freshening, so I should be able to get it done.

[video]https://youtu.be/K1HHpqJMbpg[/video]

[video]https://youtu.be/O3qltRX0yY0[/video]

blogger-image--178123671.jpg


blogger-image-1747201345.jpg


blogger-image--521770519.jpg


The airbox is off, so it idles like garbage, but it runs and that's what I wanted.

My winter list looks like this:

  • refurb old hand controls, or buy new ones
  • new tires
  • paint wheels black (plasti-dip so as not to ruin the chrome)
  • pull engine/trans and clean/degrease
  • clean/degrease frame
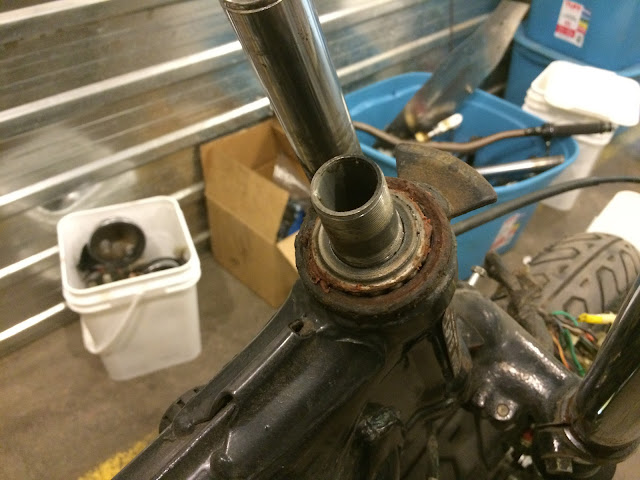
  • check head bearings, replace as needed
  • paint fork lowers and headlight supports
  • build new seatpan/seat/tail fairing
  • build new fenders
  • rebuild brakes
  • tidy up wiring a bit
  • electronic ignition
  • hide indicators, revise rear light/plate assembly
  • build new muffler
  • strip tank and assess
  • repaint tank/side covers/tail as needed
  • find a way to streamline the headlight/gauge area
 
Last edited:
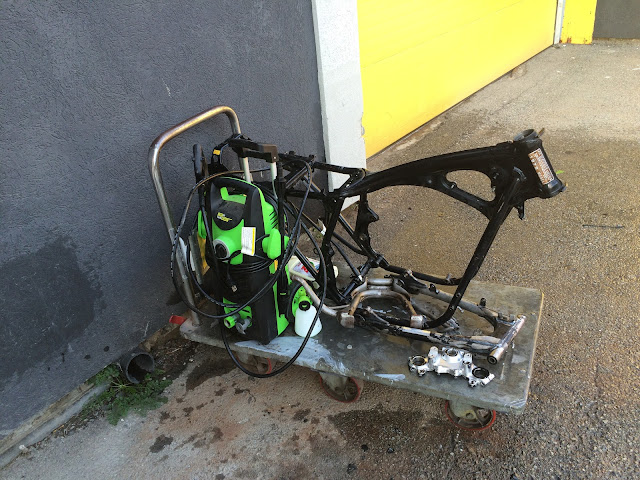
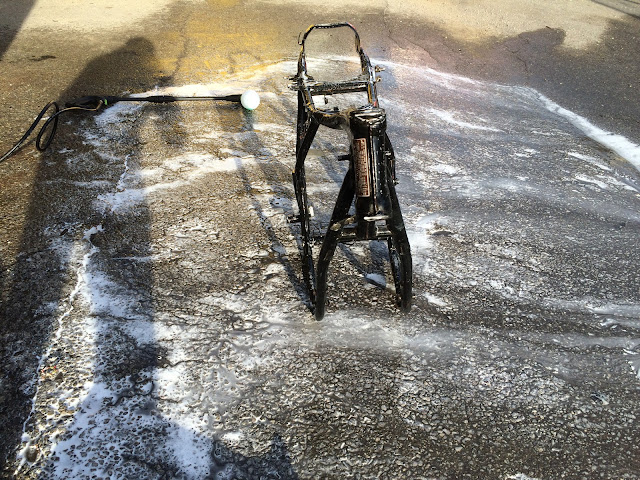
I took the ol' girl out into the parking lot for a degreaser shower. I also borrowed a pressure washer to try and get some of the grime off. Reason being that I have never actually seen the bike without a dulling layer of dust on ever surface. The least I could do before I took it all apart is wash it down to see what condition everything is in.

Turns out, I am happy to report that it is nicer than I thought it would be. Chrome is shinier, engine cases are cleaner, rims less pitted. This will be a great base for what I want to do.

blogger-image--139162956.jpg


blogger-image-638569958.jpg


blogger-image-827002635.jpg


I also picked up a re-pop seat for the bike. The seat needed to be at least reupholstered, but probably re-foamed too, and my wife wanted a non-stepped seat, so I grabbed this one off a friend down the street. Brand new in the box, straight from Ho Chi Min city. Looks pretty good to me.

Original:
blogger-image--33539571.jpg


'New' seat:
blogger-image--2030674588.jpg
 
the surprises just keep coming. usually when the previous-previous-owner lets his kid respray the bike in 'Lamborghini Orange', that means its led a rough life. I assumed that the tank would have a bunch of dents it in, but the only way to know is to strip it all down to the metal.

Turns out this tank is in great shape, inside and out. I will be repainting this over the winter, but its got primer on it now just to minimize the rust until I get around to painting it.

blogger-image-1221700805.jpg


After the aircraft stripper, which I maintain is some terrifying chemical **** when you want it work its magic, I broke out the paint stripping wheel to get it down to bare metal.

blogger-image-807566218.jpg


blogger-image--1552784649.jpg


blogger-image-1037293234.jpg


Very happy to report that there are no dents, not even little ones. The whole tank is in great shape. I did note that someone at some point did a little massaging on the top of the tank by the head bearings in order to shave the welded seam. That area needs a little bit of bondo-love, but other than that, its A-OK.

blogger-image-1160631047.jpg
 
Nowadays I can't remember what I had for breakfast but I do recall an interesting article about a Honda CB550 called "The Gentleman's Express" from Cyle magazine, 1975. I just googled it and it is on line. If you haven't already seen it it might be an interesting read.
 
blogger-image--1301904254.jpg


look at the old grease in this head tube bearing. it had the consistency of rubber. might be time for a change.
blogger-image-978477636.jpg


blogger-image--261736136.jpg


blogger-image-589567623.jpg


blogger-image--788385622.jpg


Next up, degrease frame + swingarm, then paint them, then clean the engine with a toothbrush (seriously) so I can get the grime out of cooling fins.
 
blogger-image--1539446927.jpg


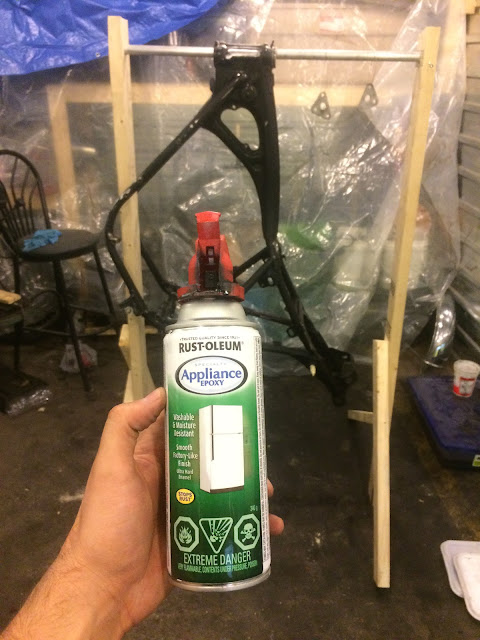
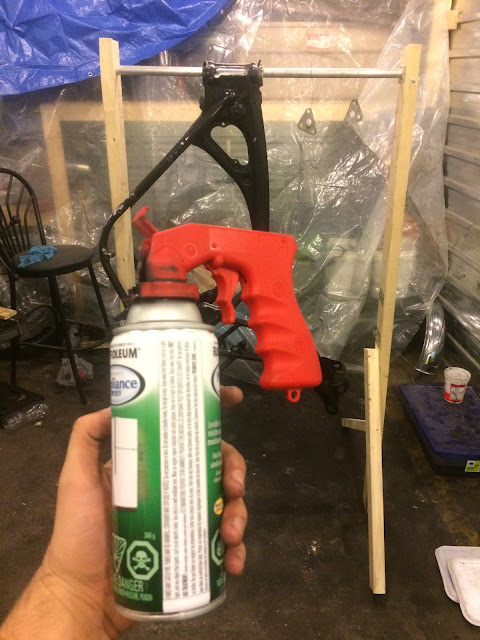
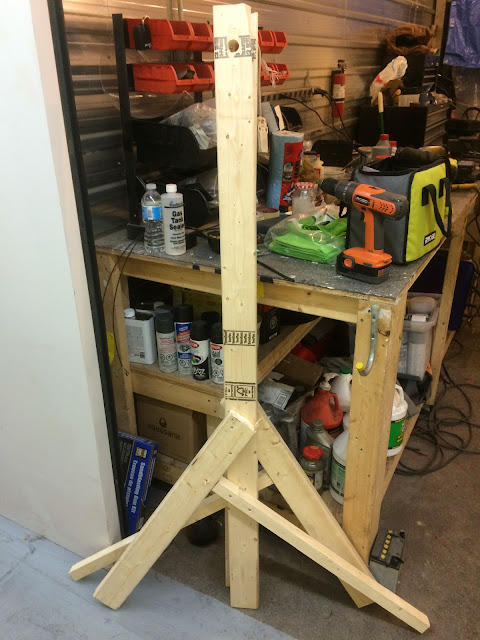
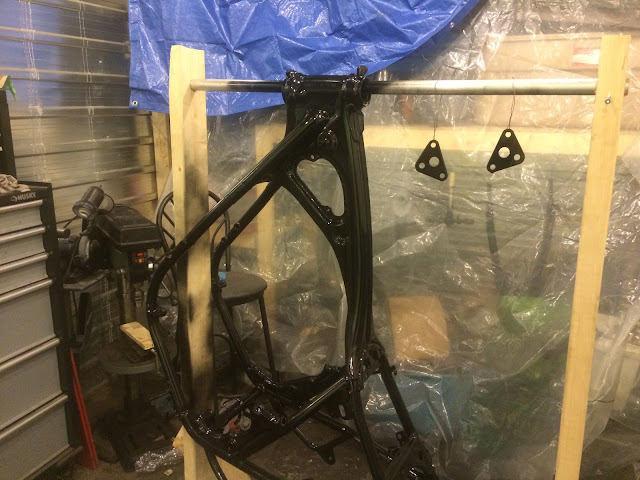
Product is Rustoleum Black Appliance Epoxy. It goes on thick but wets nicely. Even better if you warm the can up a little bit before you spray. From what the interwebs say, this is the closest thing to the paint that they had at the factory back in the day, so instead of powder, I am going to try this.

blogger-image--1336894244.jpg


blogger-image--782681393.jpg


blogger-image--1734235851.jpg


blogger-image-471305326.jpg


blogger-image--1273546884.jpg


blogger-image-472606138.jpg


blogger-image--1103067121.jpg
 
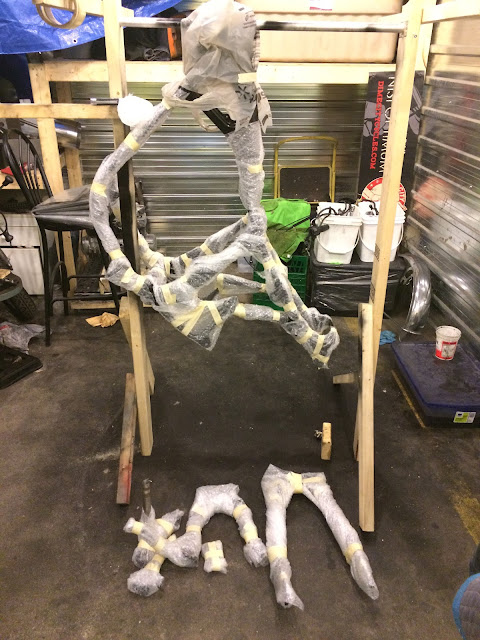
After the epoxy cured (I made an oven to finish baking it so that it would be nice and hard) I took the parts down and wrapped them in bubble wrap so that I can minimize the nicks and chips while I store them until I finish cleaning the engine and wheels.

Once I do that, the bike will be ready for re-assembly into a rolling chassis.


I am really happy with the quality of the paint job. Lots of gloss and shine, and the surface is very hard. It is like a thin powdercoat. Similar toughness.

blogger-image--1084998416.jpg


blogger-image-1221627129.jpg


blogger-image--415234120.jpg


blogger-image--1585502327.jpg


blogger-image--1674377253.jpg


blogger-image-379817425.jpg
 
There's a 'few' bikes in this storage facility.
 
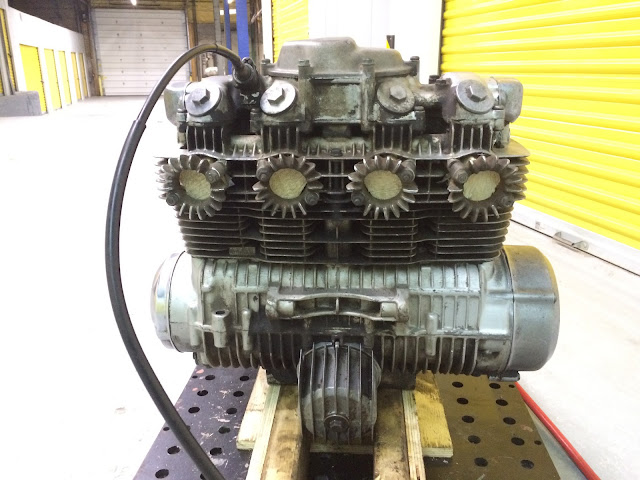
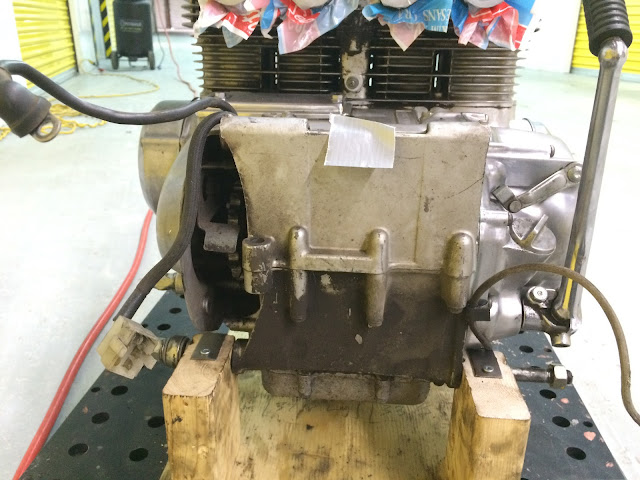
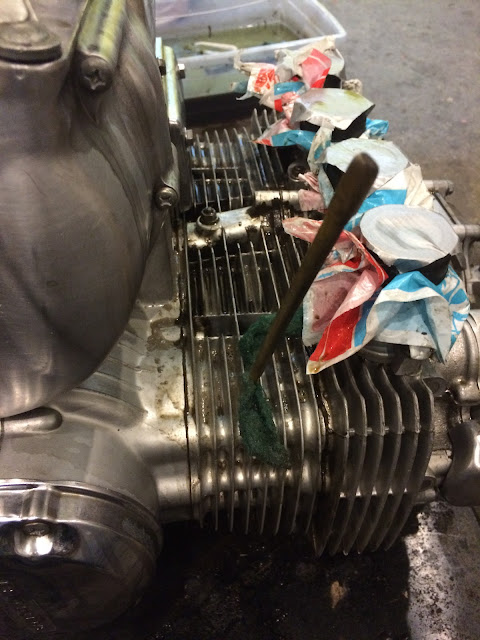
ime to get that engine clean. There was tons of road grime on it, and it was baked on.

I used a soda blaster, then several cans of engine degreaser and chipping it away with a screwdriver, then simple green and scrubbing with a scour pad, then more engine degreaser, then a pressure washer.


Before blasting, this is what it looked like. Don't be fooled, its mega dirty.

blogger-image--919780165.jpg


blogger-image-187930367.jpg


blogger-image-1156664474.jpg


blogger-image--1314770445.jpg


blogger-image-939763711.jpg
 
Back
Top Bottom