It looks like a motorbike!
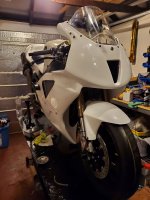
Lots of progress over the last few weekends, getting close to being 'done', though the suspension setup had to be delayed...
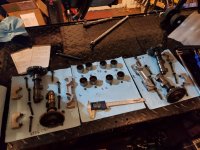
Since last time, the biggest step has been getting the motor back together, topping up fluids, and firing it up. This wasn't without drama, as the first try revealed a herky jerky turnover that I initially thought might be a dying battery or loose starter motor cable. Those checked out okay, as did the replacement coils (on plug - so much simpler and lighter) with good spark. Further testing revealed it turned over just fine with the kill switch engaged, and a compression test should have topped out around 175 psi, which it did on the front. On the rear, though, I got this:
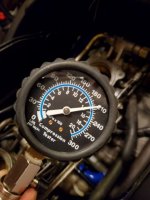
205 psi suggested something funky with the valves, so after singing "What an Idiot He Is" to myself, I popped the valve cover to discover both cams off by one tooth in the gears (gear driven cam). My only defense is that the cam gears are split and sprung, and so what looked right when just laid in place was actually off when torqued down. I wouldn't have even noticed until I rotated the crank 360 degrees so the cam index marks were pointing at each other instead of away, and it was instantly obvious I f**ked up. All I can say is I'm super grateful that valves and piston never tried to occupy the same space (I did rotate it by hand first to be sure)...
Once done, that legendary Honda reliability came into play, and she fired up instantly and beautifully. The compression on the rear cylinder is now bang on after being a bit low, so the valve work was worth the hassle.
Here's a few more pics:
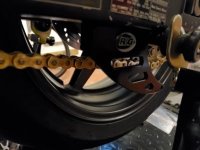
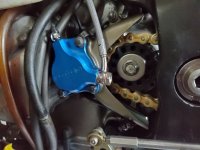
Sharkfin drilled and tapped into swingarm
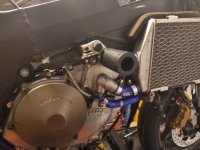
Samco rad hose kit and Durbahn frame slider. Durbahn is long gone, so these sliders are unobtanium. Paid a fortune for them, but took a mountain of dimensions so I can have them made if broken in a crash. The reason they're so special is other sliders mount under the rad at a forward motor mount, which is too low and often rolls the bike onto the tank in a crash.
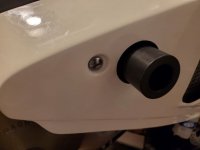
Best way to get the holes lined up is using a laser to set the location of the slider, remove the slider, install the fairing, mark where the laser is set, break out the hole saw. Worked like a champ, and way easier that the Playdough method...
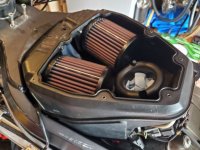
Airbox back in place. One piece of bad design is the airbox is held down by the screws on either side of the velocity stacks. The front screw on the front stack can only be turned by an extra long screwdriver through that hole just above the centre cover hole at the front. What happens is folks strip this screw because their driver isn't long enough (and they're made of cheese). Mine came stripped, and it took some creative tool destroying to get it loose. After a variety of frustratingly ineffective attempts, I ended up grinding down the tip of my long Phillips so the edges could bite into the unstripped outside portion. Needless to say, I bought multiple replacement screws so it won't happen again...
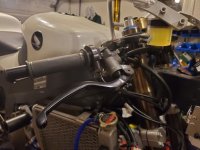
Brembo master and reservoir bracket on Apex GP clip-ons. Would have loved to push everything out wider, but the throttle cables only let me go so far. Vortex lever guard will soak up some of that blank space by clamping onto the bar instead of going in the bar end.
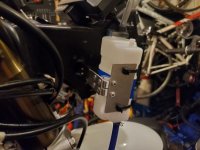
Replaced the stock coolant overflow tank to give the motor more room to throw off heat. The air intake snorkel has a perfect bracket moulded into the side, so some plate aluminum and a few rivets later, we have a bracket.
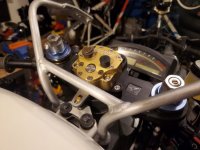
Scotts damper installed. Scotts is sold out of the brackets that clamp onto the stem nut, and nobody could guarantee a time that they'd make more. So after waiting six months with no answer, I reluctantly used the bracket that came with the damper, as it required drilling and tapping the top triple clamp. Part of my aim with this bike is to make it as easy as possible to revert to street form while also stripping as many of the pricey aftermarket bits as possible for resale if need be. Drilling into obvious and visible spots doesn't help that plan...
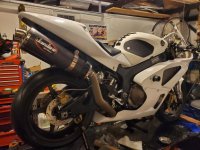
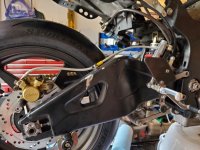
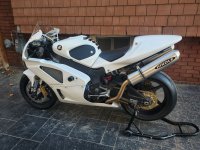
Another shot of the near-finished bike. I know I'm showing my age, but I love how these bikes look.
What's left:
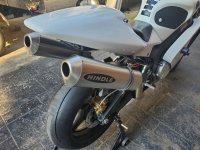
- Take bike up to Hindle in Port Perry for new slip-ons and some dyno tuning. Much as I love the period correct Jardines, the carbon is getting brittle, they're banged up, and the link pipes have a few dents. Hindle offers very crashable slip-ons for a budget price, so it's an easy call.
- Set up basic suspension, sag and damping
- Finish HealTech gear indicator install
- Re-cover tired seat with new Luimoto cover
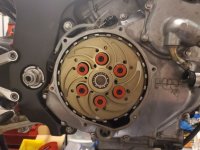
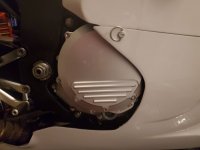
- Install RaceTorx clutch cover with replaceable crash bracket
- Figure out undertail. I bought a race one, but it doesn't have a spot for the tip-over sensor and a number of other bits tucked in the tail. Will get to this eventually, as there's currently a big gap where the stock undertail was hacked off for a Hot Bodies unit, but only after everything else is working
Hopefully the next post is after a successful track day. Thanks for the indulgence if you got this far...


