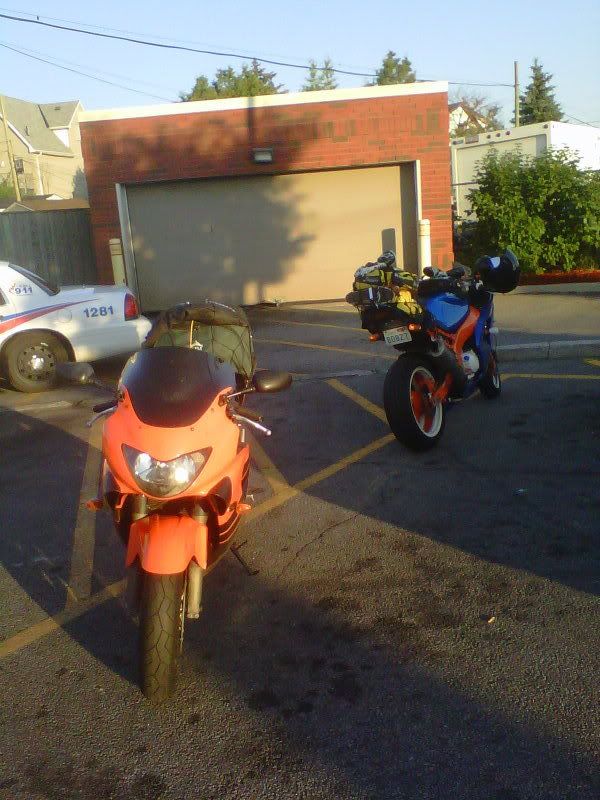
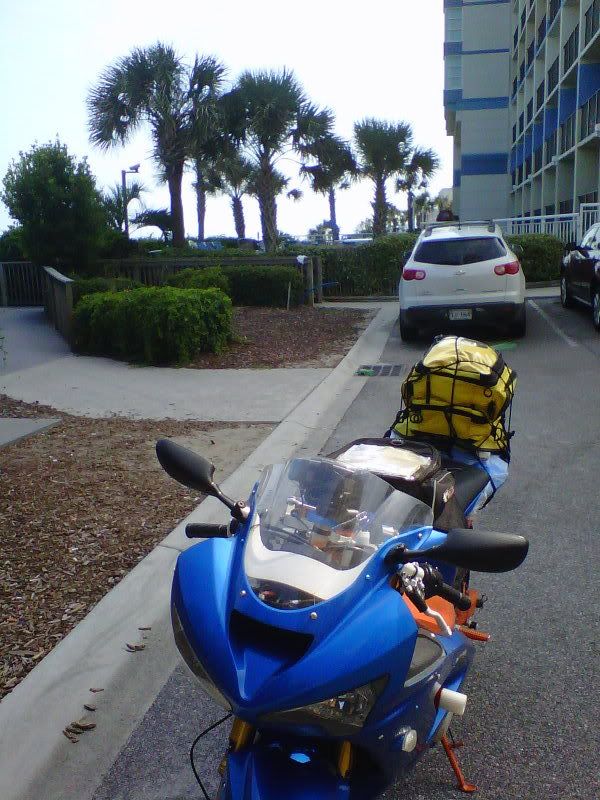
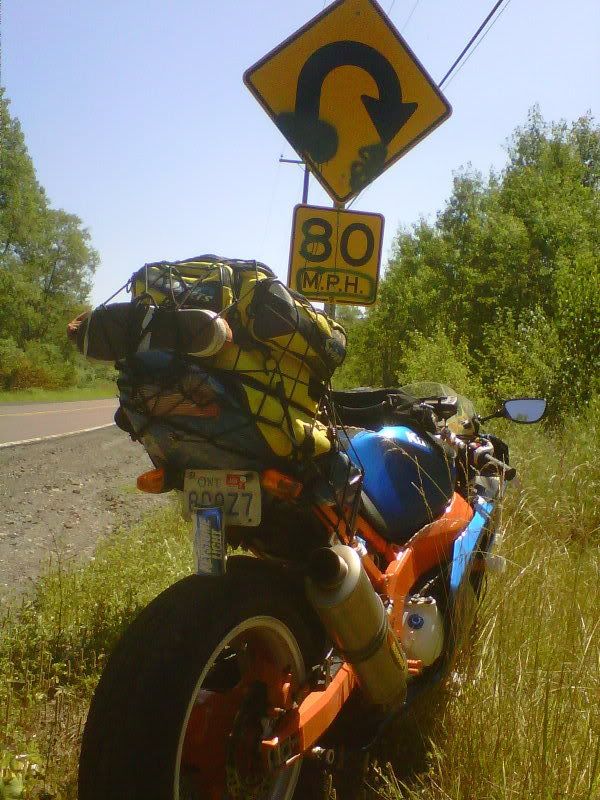
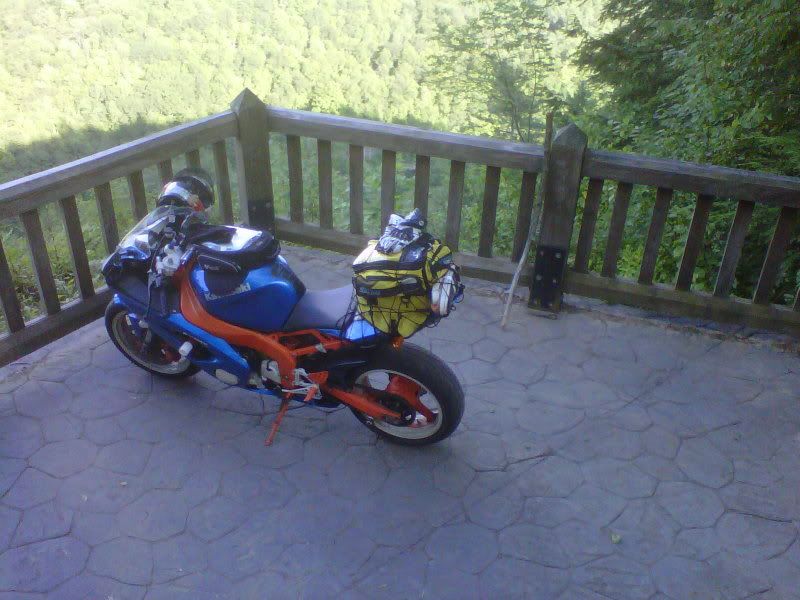
Milton - Vancouver on R6 - July 2012

Looks like a supersupersuperslabbbb!

Hit as many green patches on the map as possible. If you modify your route, you can hit Yellowstone National Park and all those other parks in Idaho. Go through South Dakota instead of North Dakota and hit the Badlands National Park as well as the Black Hills (Rushmore) area.

I dunno about you but this looks fun to me :D http://maps.google.ca/maps/ms?msid=...l=43.800836,-103.476791&spn=0.268111,0.676346

Thanks Wheelieboy! here is a revised map... I will be staying a day or 2 in Cooperstown North Dakota, and about a week mby 2 if theres time in Vancouver. then out to Calgary for a day, and then home. ... haven't got a day to day plan yet but this is a rough map out of the route

http://maps.google.ca/maps/ms?msid=...=48.980217,-92.460937&spn=31.406569,86.572266
 
Nice route, should be pretty amazing. I could probably ride with you to the Sault or Thunder Bay on your way out west, depending on my schedule
 
Yeah lose the Superslab at least til you are on the way home with the wind behind you and your butt ready to long haul. I'd highly suggest a 1000km day before you go just to test your tolerance.
Also - if you do wander and get lost having water with you is vital especially in some of the dryer states and provinces.

On the slab it's not a big issue except you have to remember to hydrate.

Starting early on the way out keeps the sun behind you and the wind will be less that time of day.

Dehydrated and staring into a setting sun is instant headache and disorientation after a long day riding. YOu'll make basic mistakes like highway hypnosis.
The best for hydration on a sport bike might be a camel back as you are going to space challenged anyway and you don't need to stop to hydrate.

I really hope you do some long rides ahead of time.

One good one would be to loop up to Tobermory - try and time it to catch the last ferry of the day to see how good your judgement is.

That's about a 600k loop but instead of coming straight back down I'd swing along the lake to Grand Bend and then home adding a couple hundred more.

Be cautious with fog on the Bruce - can be big time thick - very stressful riding.

Happy to do some intermediate loops with you when I get back in April.

You could of course do The James Bay road which will test your strategic planning :D and give you a taste of a 1,000km day ( to Matagami )

I'd suggest getting this moved to Touring where it won't disappear as quick and you can benefit from the other threads that are there - can't hurt to ask.

The other thing is don't count on cell service or wifi - get some paper maps. I do like having a compass with me as you can get turned around and they are small.

That second map is way better but you are right on top of Yellowstone and that should not be missed. It will get cold in the mountains so your layers are critical - skip cotton completely.
Doing some spring riding with colder mornings and hotter afternoons will test your layers. Hands may be vulnerable as well.

A thin balaclava packs small but can help a bunch in nippy weather - Oxford makes some. - keeps the earphones in as well. Assume you are wearing earplugs or earphones?

•••

Good advice whoever mentioned tires and for sure pick up a CAA plus membership - cheap protection for a breakdown in the middle of nowhere.
Good maps available too.
http://www.caasco.com/membership-savings/member-benefits/
 
Last edited:
Yeah i was talking about the Tobermory loop with my father the other day he has done it a couple times I might just do that... and it would get me familliar with the ferry as well for my way home in July.
As for iding in cold weather, that is all I know so far seeing as I got my bike this past October, i have ridden in -5 degree weather and yes a balaclava is definitely a necessity.
I already have a CAA membership. I am thinking, once I get my route mapped, get CAA to "TripTic" it.
I will definitely look in to getting a camel back as well.

Thanks for all the advice.

ps how do I move this thread to Touring? I tried doing this a couple times
 
aak a moderator ( Wing Boy maybe )

There are nice roads all through the area - if you've got a bit extra time go up Beaver Valley Road.

You might want to do a US loop around a lake as well - you "can" get a full search if your gear if your number comes up ( it's random ). Keeping stuff in clear plastic zip locks makes finding stuff, packing and unpacking quicker. I'm restricted with the KLR little topcase compared to the 108 litres + the Burgman has so I'm still figuring out best method even for 300k runs here.
A good tank bag should be Job 1 - keep your Nav stuff up front, snacks and maybe water if you decide against a camel back. There are some cool multilevel tank bags. Looking for one for the KLR just now.

There are also small fuel tanks that can be attached for an extra reserve.....best practice is simply fill up whenever you get the chance around 1/2 tank....stations can be closed etc. I'm loving the 23 litres on the KLR as it gives near on 500km at moderate speeds - big change from the 15 litres on the Burgman.

Fuel gauges are hard to judge so it's not a bad idea to take a small container on a local run and see how far you can go once you turn on your reserve. Get used to using your trip meter(s) so you can judge your fuel use and range left.

Your bike will handle differently loaded so do some test rides with full load and full tank.
You might want to reset your suspension.

This guy was Texas to Alaska and bike built for it with full luggage racks and he's still jammed up.

Screenshot2011-06-16atJun16201144609PM-1.jpg


You are going about the same distance so look around for tips from other R6 riders for best way to carry gear. No idea what options you have for gear but you are bound to have fun. :D
 
Last edited:
. and it would get me familliar with the ferry as well for my way home in July.

I would really tend to recommend you do the Tobermory Ferry on the way out as you have much better control over timing and it will give a good break on the first day.
Will really let you feel you are on an adventure as opposed to slabbing it.

Will give you a specific place to be at a particular time and so get you started off on a good foot.

My 2 cents. Depends a bit on the weather the day you set out and how rested you are ( my buddies and I usually don't get a lot of sleep the night before - like little kids that way ) :D .....love it
 
that sounds like a decent idea, thanks.

Are there any R6 riders out there that have done any touring? with any ideas on how to secure luggage? pictures would be awesome.

Cheers,
Geoff
 
I suggest a heated vest for those cold mornings, evenings, high elevations....

I use a +Venture vest on sportbikes. It is very thin with a heated collar and 4 position temperature controller that can easily be manipulated in a second while riding with gloves on. This one is approx $160 with tax. It has infra-red matts not hardish wires like some of the Harley ones and others so this allows it to be folded/rolled up rather small when not in use and there is no concern of damaging the wires. It draws approx 1/2 the amps of 1 of your headlights so the bike's electric system will handle it easily.

This will lighten your load as it will replace approx. 2 - 3 pieces of clothing you will not have to wear to stay warm and will not need to pack. Also you will not need to peel off layers when you stop to eat indoors at restaurants....so as to not sweat profusely.

I found it is not hot when it is not powered on unlike a sweater or multiple layers can be.

Have fun.
 
Last edited:
Hi there,

Also planning my first big ride, but I'm going to go out East instead. However, I've driven Calgary -> GTA before (moving here to take my job), and am a bit familiar with BC and the West.

For more fun, here's a few things I'd suggest:

-Driving to Whistler, I went the back way through Lillooet to Pemberton. It was awesome and pretty unforgettable, and would be a lot more fun. 60 km/hr limit, very quiet, lots of elevation change, sleepy towns... http://maps.google.ca/maps?saddr=Ka...L84Gb6paRuw&mra=dpe&mrsp=1&sz=8&via=1&t=m&z=8

-An alternative from Calgary to Vancouver would also be to go South to the Crowsnest Pass, and then take Highway 3. I've taken it from Calgary to Creston (going to Sasquatch Music Fest '07 in Washington), and it's scenic and curvy: http://maps.google.ca/maps/ms?msid=...=48.980217,-92.460937&spn=31.406569,86.572266

-Driving out here, I went through the US and then took HWY 2 from Duluth, MN to Flint, MI. It was pretty scenic, and half-decently curvy, and also quite a bit shorter than going through Canada. Manistique to the Mackinaw Bridge was beautiful. http://maps.google.ca/maps?saddr=du...raDOOCTqFwQ&mra=dpe&mrsp=1&sz=7&via=1&t=m&z=8

Just some food for thought.
 
Thank a lot I will definitely look into getting one of these vests.

Cheers, Geoff


More info:
I like the +Ventures because they also have some elastic stuff on the sides so it conforms nicely to my body and also it has draw strings at the sides of the waist area so that it can be adjusted to fit snugly. Not all vests have these features. This is important because a vest works best when it is snug against your body.

Per the manufacturers of heated vests only one layer of clothing should be worn under the vest such as a tee shirt (long or short sleeved). Layers can be worn on top of it. The vest should fit snugly and not be loose. This way the heat is transfered readily to you.

Hope this is helpful. I know about 8 riders that got one last year and wonder why they never had one before (sport & cruiser bikes).

The supplied electric harness simply connects to the bike's battery terminals. Then most of us just route the wire to where we think is a good place for the plug and zip tie it with those plastic zip ties to the frame or some secure place.

Just remember to switch it off and unplug yourself before you get off the bike! :)
 
Last edited:
Are there any R6 riders out there that have done any touring? with any ideas on how to secure luggage? pictures would be awesome.

I dont have an R6 but my CBR600 should be a good enough reference for your needs.

To start, I had saddlebags and a drysack that spanned across the rear seat and the saddlebags.

I used bungee cords as you can see in the picture. There are 4 main bungee cords that need to be used.

Hook one of them to an anchor point in your undertail, pull it back behind the drysack, cross it over toward the front to the opposite side (left-to-right/right-to-left), hook the other end to your rear footpegs. Do those for each side. Now you will have an "X" on the top of your drysack where the bungee cords intersect.

Hook another bungee cord from your undertail, pull it straight out to the side (90 degree angle from your bike), bring it up and over the side of your drysack and hook it up to the intersection of the "X". Do this for both sides. Now you will have bungee cords in a * pattern on the top of your dry sack. If you wish, you can attach additional bags to the * intersection as I did in the picture with my toolkit and spare visor. You can use additional tie-downs/bungee cords for peace of mind but 4 was all I needed.

I also added 2 bungee cords (not shown in this picture) to secure the luggage a little better. Where you see the red tiedown on the right, I replaced that with bungee cords and I hooked the ends of the bungee cords to the anchor point in my undertail. That way it makes sure that the load stays secure.

IMG_8344.JPG


Also if you really need it, you can attach a tent to your bike as well. Just slip it under one of the bungee cords used in your "X" from the previous step. I put my tent in a garbage bag.

IMG_0429.JPG
 
Take one or two spare bungees and check for wear points on them - some have sleeves to prevent that ( and also wear on the bike paint ). Get quality tie down stuff - check it each time you take a break - stuff shifts around.
 
Take one or two spare bungees and check for wear points on them - some have sleeves to prevent that ( and also wear on the bike paint ). Get quality tie down stuff - check it each time you take a break - stuff shifts around.

Good point, forgot to mention that.

Any luggage that has the potential to shift around will scratch/wear on your fairings. This includes bungee cords and saddle bags. Extra bungees are highly recommended as I did lose some. If I were to do it again, I'd put masking tape all over the tail section.
 
Creativity and what tie down points you have on your points varies....so use what you can...

here are a few pics from this summer's touring...we setup our bikes like this for 3 - 4 day trips. This is all our luggage....with room for more in case someone buys a oddity etc.

IMG00950-20110730-0700.jpg


Light weekend trip...some luggage off the bike
IMG00603-20110626-1631.jpg


PA trip..3 DAY....yes those are converse....tend to wear riding boots when I tour too

IMG00979-20110731-1124.jpg


IMG00974-20110730-1824.jpg


IMG00982-20110731-1349.jpg
IMG00952-20110730-1236.jpg
 
Last edited:
Nothing beats hard cases...soft is ok, but you will need to ziplock/drybag the contents...I also found the bass pro boat bag worked well strapped across the back seat and side bags...the small black bag on the top was the rain kit...always keep the rain kit handy....straps work better than bungees, but bungees work...
3791202516_0da8ff88b0.jpg

3793836661_0bf5dc4e7f.jpg

Princess auto has these for 35 bucks....sometimes on sale for 20 or less....they are small, but it will force you to travel light....
8265175.jpg
 
Yeah lose the Superslab at least til you are on the way home with the wind behind you and your butt ready to long haul./

If you can afford to stay as many days as you want on this trip, then staying away from the superslab is fine. But if your time / budget is limited, then it would make sense to use the slab in order to save time and stay more in another area.

For example, I would rather slab it to South Dakota (not much to see in between) and spend an extra day in the Black Hills.


I used bungee cords as you can see in the picture. There are 4 main bungee cords that need to be used.

Hook one of them to an anchor point in your undertail, pull it back behind the drysack, cross it over toward the front to the opposite side (left-to-right/right-to-left), hook the other end to your rear footpegs. Do those for each side. Now you will have an "X" on the top of your drysack where the bungee cords intersect.

Hook another bungee cord from your undertail, pull it straight out to the side (90 degree angle from your bike), bring it up and over the side of your drysack and hook it up to the intersection of the "X". Do this for both sides. Now you will have bungee cords in a * pattern on the top of your dry sack. If you wish, you can attach additional bags to the * intersection as I did in the picture with my toolkit and spare visor. You can use additional tie-downs/bungee cords for peace of mind but 4 was all I needed.

I also added 2 bungee cords (not shown in this picture) to secure the luggage a little better. Where you see the red tiedown on the right, I replaced that with bungee cords and I hooked the ends of the bungee cords to the anchor point in my undertail. That way it makes sure that the load stays secure.

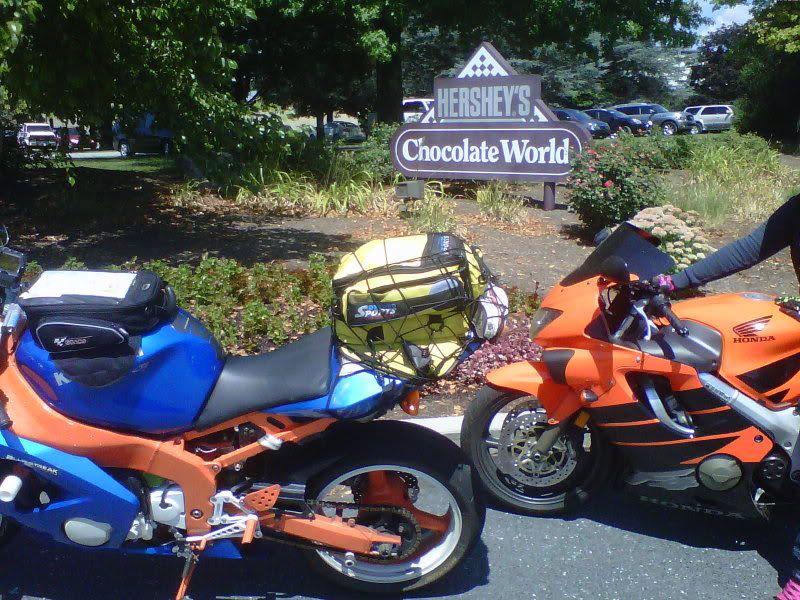
On my first tour I used bungee cords too, but after that I switched to a cargo net (like frekeyguy). It's much easier to set it up and the luggage is more secure.
 
Last edited:
Back
Top Bottom