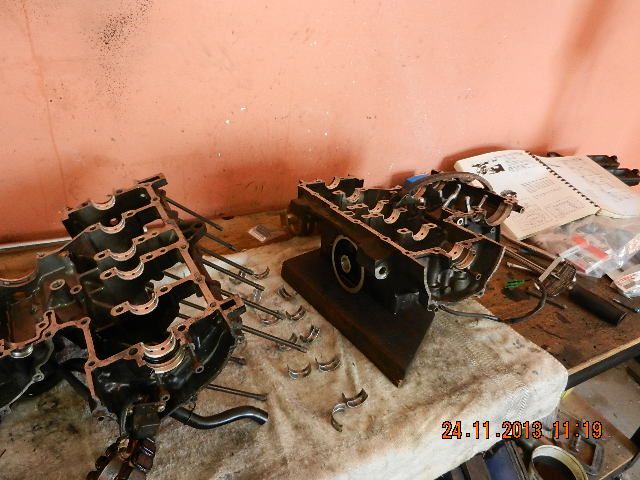
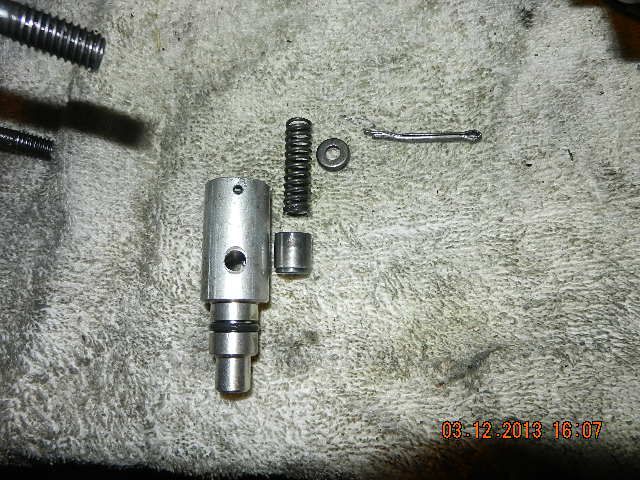
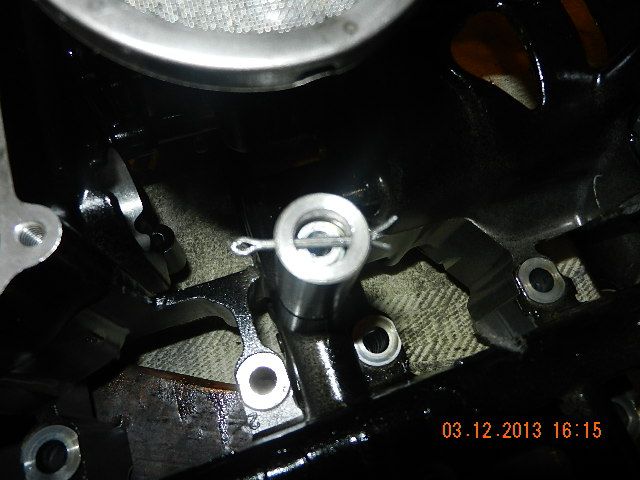
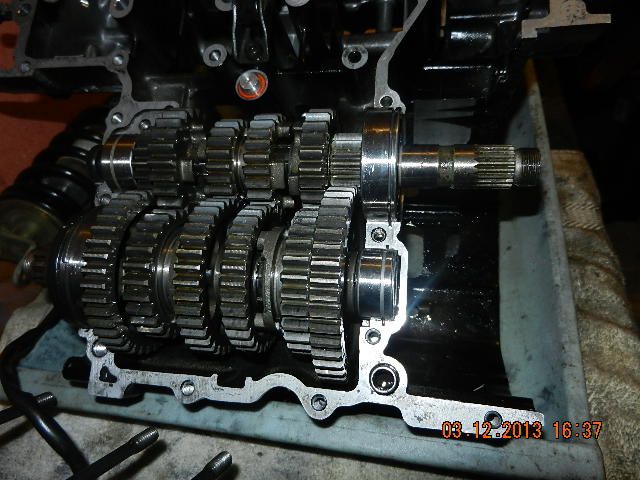
Then, there's a big step that I don't have pictures of, because it has to be completed before the sealant sets.
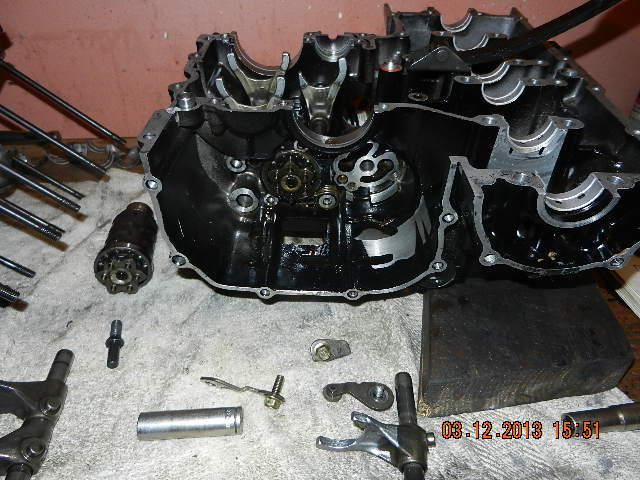
A bead of black RTV sealant is applied around the outer perimeter of the crankcase wherever there is oil on one side and outside air on the other side. This has to be a
thin bead. You do not want excessive silicone inside the engine; it has a way of getting into the worst possible places if too much is used. I always apply the bead of sealant towards the outside of the mating surfaces to encourage it to squeeze to the outside of the engine rather than the inside.
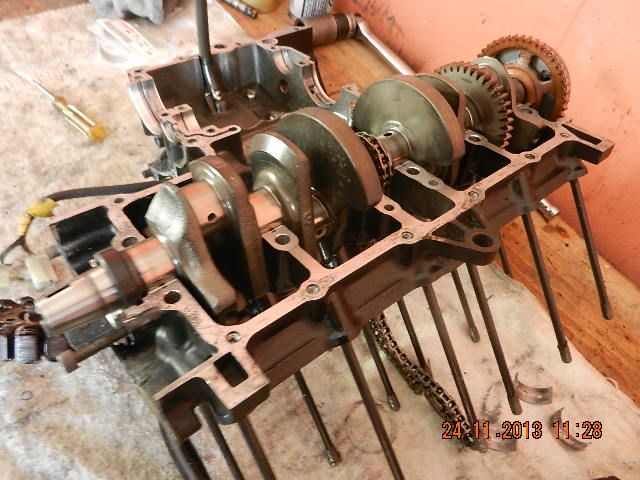
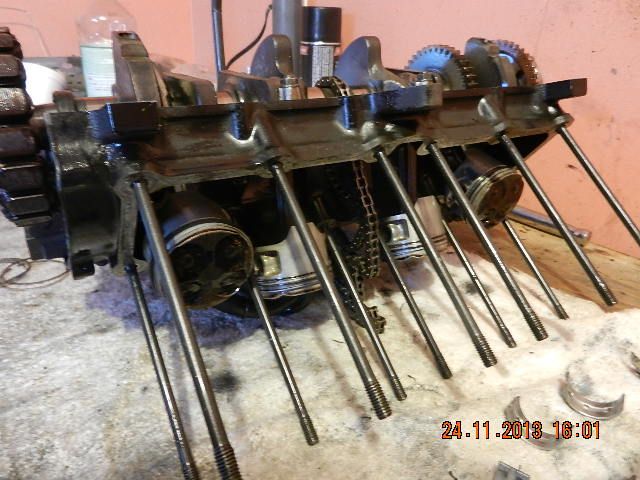
Then the cases go together. The transmission is already together in the lower case, and the crankshaft, timing chain, crank oil seal, and pistons and rods are already assembled in the upper case. To do this, I lift the upper case by lifting the timing chain and hanging the crankshaft below it and then flipping the upper case over - this way the crank doesn't fall out of the upper case when you flip it over. The rear guide for the timing chain has to be carefully guided through, and the drain hose for the crankcase vent has to go through a guide hole in the lower case. It is a finicky operation. Once everything aligns, the upper case drops in place. The bolts from the bottom have to be tightened first but you don't want the cases falling apart when you flip them over again, so I insert one of the upper bolts into its hole and snug it before flipping the cases upside down.
Then, the main cap bolts go in and are torqued to specs. Yamaha casts the tightening order numbers into the cases, making that part easy. The bolts along the front of the crankcase also go in from the bottom, and there is one bolt covered by the oil pump that goes in from the bottom, all torqued to specs.
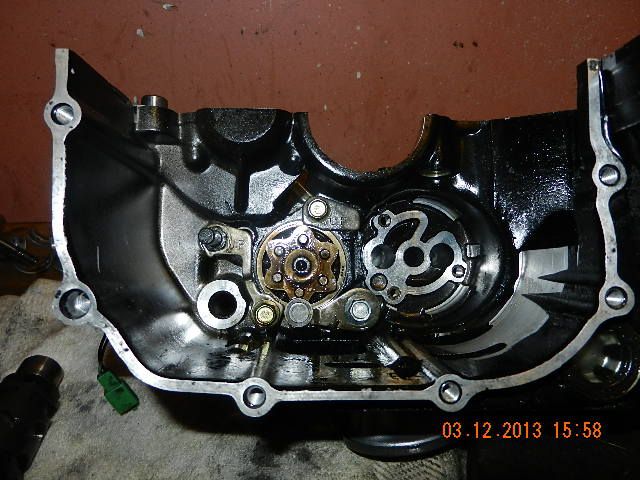
It's easier to put the oil pan on before flipping the engine rightside up again and doing the top bolts - but before that, I install the oil filter, I put the oil pump in, torque its bolts to specs, pour a bit of oil into the intake screen, and spin the oil pump in the forward direction to prime it. Then the new pan gasket goes on ...
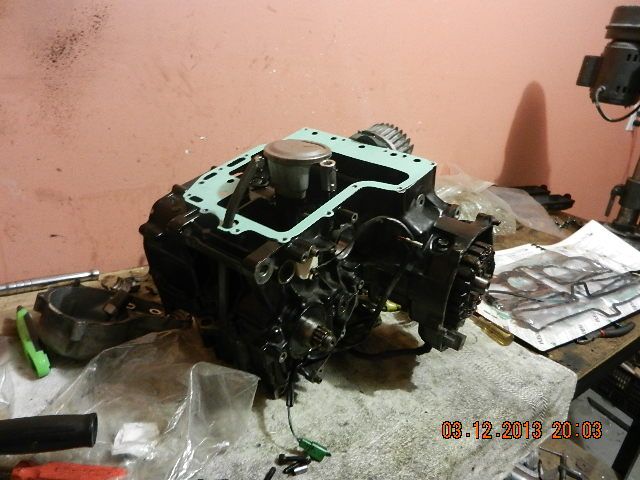
Then the oil pan goes on and bolts are torqued to spec. Then the engine can be flipped rightside up, and all the case bolts that go in from the top can be installed and torqued, taking care to install a couple of cable guides that belong on a few of these bolts. One of the bolts along the back of the engine only gets threaded in a couple of turns at this point - because later on, when the engine goes into the bike, that's where the chassis ground strap (to the battery) connects to.
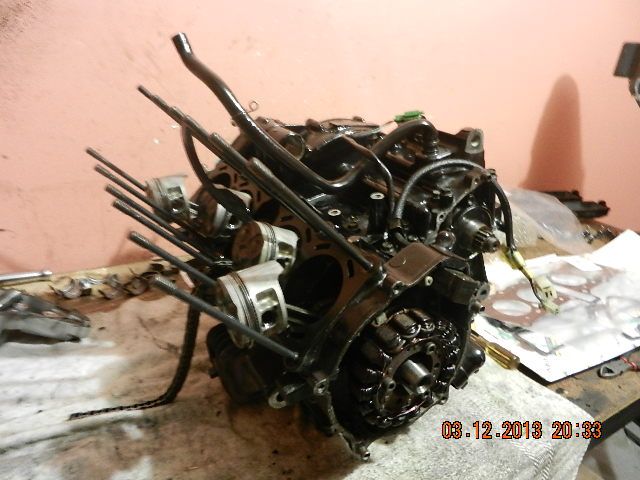
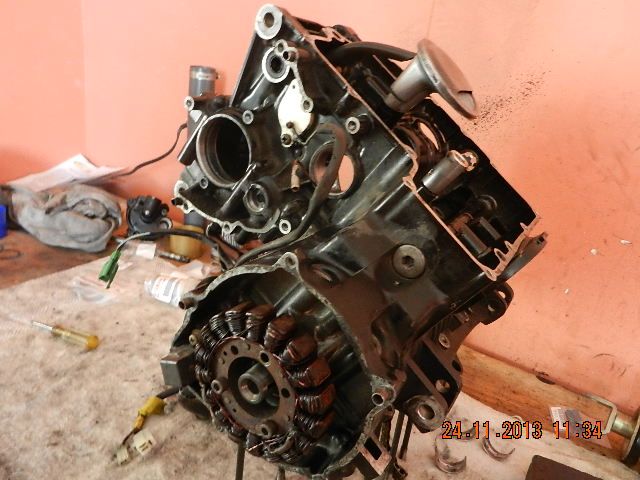
Then ... Starter reduction gear, starter gear cover with a new gasket, starter motor, water pump, a holder for the rear main seal and clutch pushrod seal can all go in, and the cylinder base gasket can go on, and here is how it sits.
