********************************************
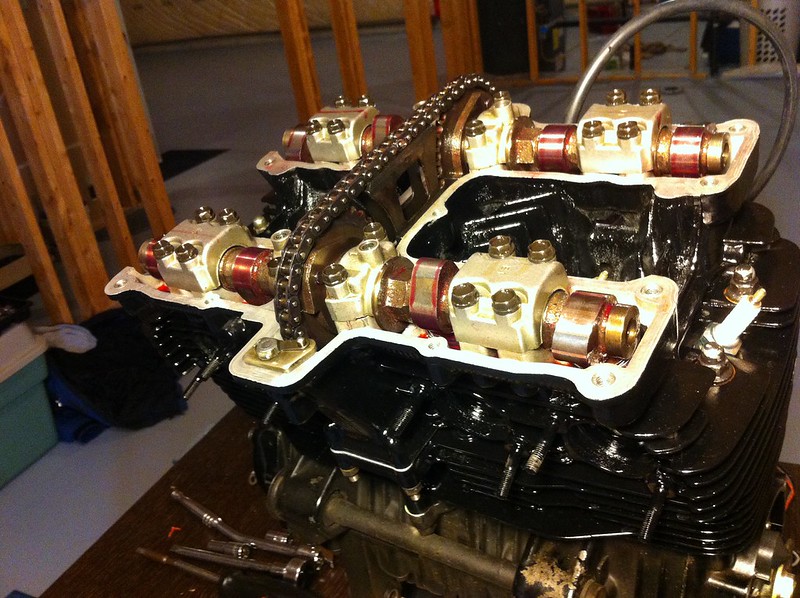
Build is COMPLETE! Took just over a month to get the engine apart and back together, and everything ran beautifully! Been enjoying the bike already.
********************************************
Welcome to my build thread!
I’ve been posting at yamahaclub.com but I thought I would share my progress with my fellow GTAer’s as well!
Here is my 1986 FZ600, the day I picked it up.
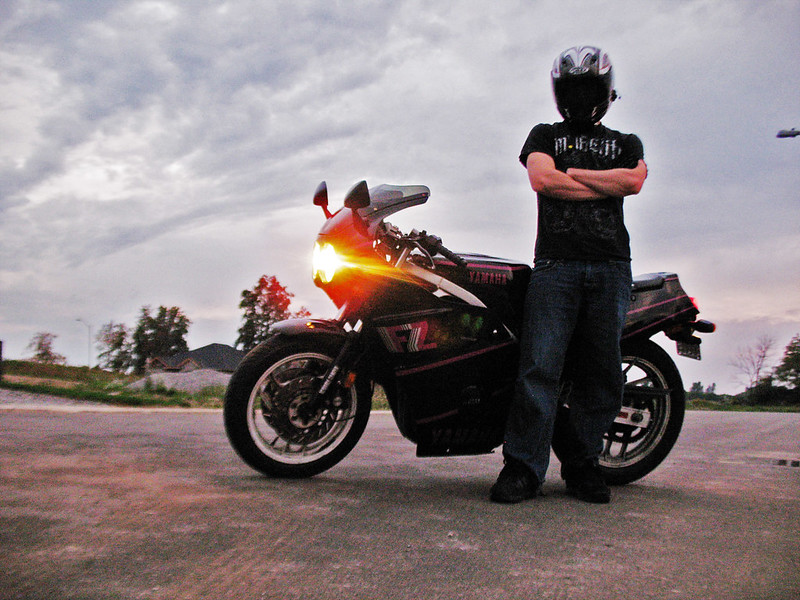
Feliks and the 1986 Yamaha FZ600 by feliks.ca, on Flickr
I was super excited, seeing as how it’s my FIRST MOTORCYCLE EVER!!!
When I bought it, it wasn’t running. I paid $900 for it, on the sellers word that it worked, but the battery was dead. I knew I was taking a chance but everything appeared to be in good shape, so I pulled the trigger. Also, it was either buy it, or not get one at all…since I had barely talked the wife into “letting” me get this… lol So, paid the guy and loaded it up in the back of my Ram.
First thing I did was buy a battery, charge it, put it in, and try and start it. That was stupid. Because….it started right up, and I was very surprised the guy was actually good for his word. The reason this was stupid, is because I didn’t check the basics. Like spark plugs….for one. Anyway, I got on the bike because I was just way too eager to learn how to ride and pulled it down the driveway, and off I went. Took it down the street, made a nice controlled turn, and brought it back. WOOO! First ride ever was a success! I didn’t fall, spill, stall, or do anything else embarrassing. Awesome. What a rush too, just going down the street and back without peddling or walking, or driving in a cage! lol
So back to why it was stupid… After driving around town and getting to know the bike… I brought it back home, went to crappy tire and picked up some new plugs for it, since it was sputtering quite a bit. While I was putting them in, I noticed one of the original plugs was loose, and the frickin wires were in the WRONG ORDER!!! WHAT!!! So…after fixing that & putting new plugs in, I started it up, and almost jizzed in my pants. Sorry for the visual….but I’m sure you’ve all been there. Well…maybe some of you have. I was just like….OMG. Damn, when that thing fired up and I cracked the throttle open.
Anyway, pulled it out for a REAL spin this time and the feeling was literally indescribable. If you’re reading this and you ride, you know what I mean. If you’re reading this and don’t ride, what the fcuk are you waiting for?
Anyway, I got a couple good… make that AMAZING months of riding in before the snow came, rode up until December 10[SUP]th[/SUP]… before I parked it and then started winterizing it. But I didn’t stop there…
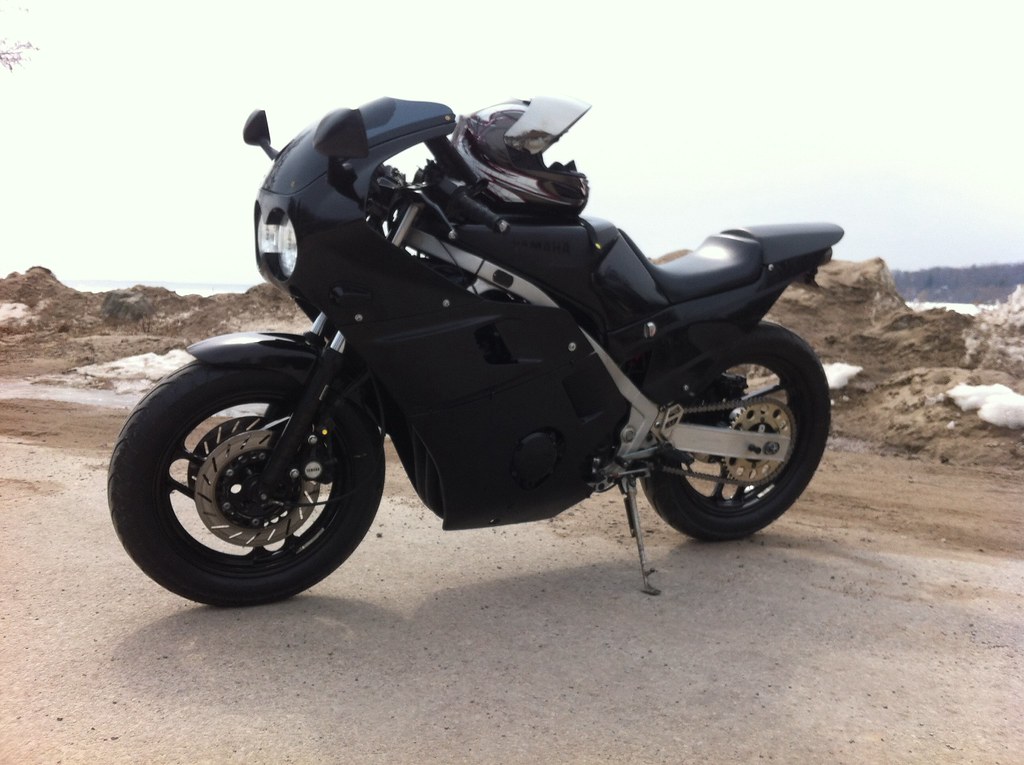
Before I parked it, I got rid of the purple pin striping and gave it an all black paintjob.
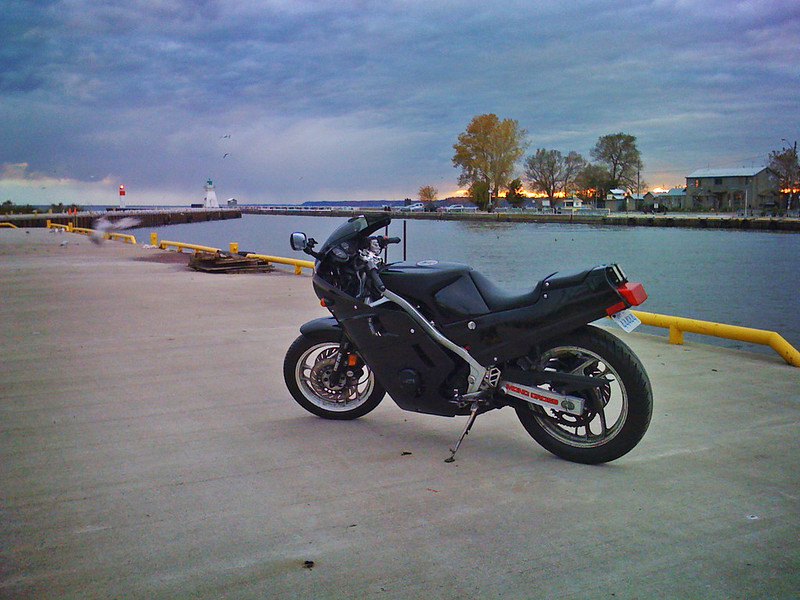
1986 Yamaha FZ600 by feliks.ca, on Flickr
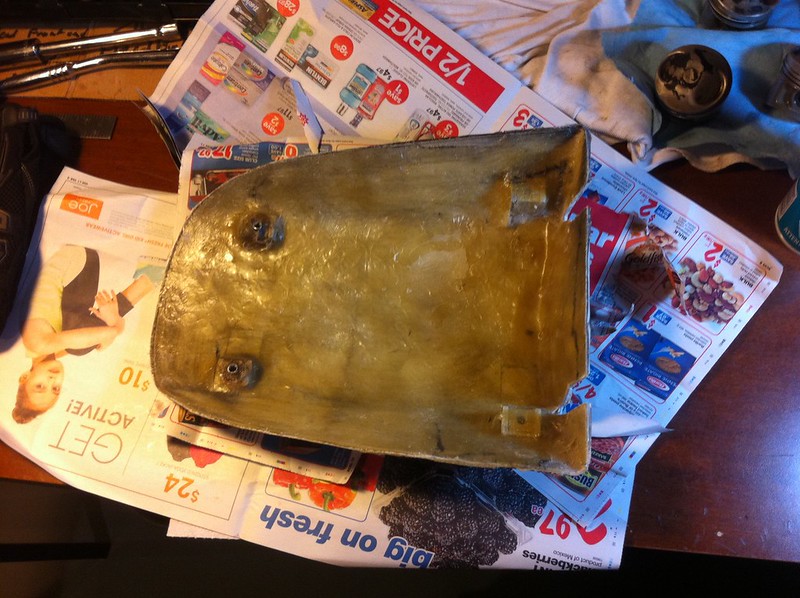
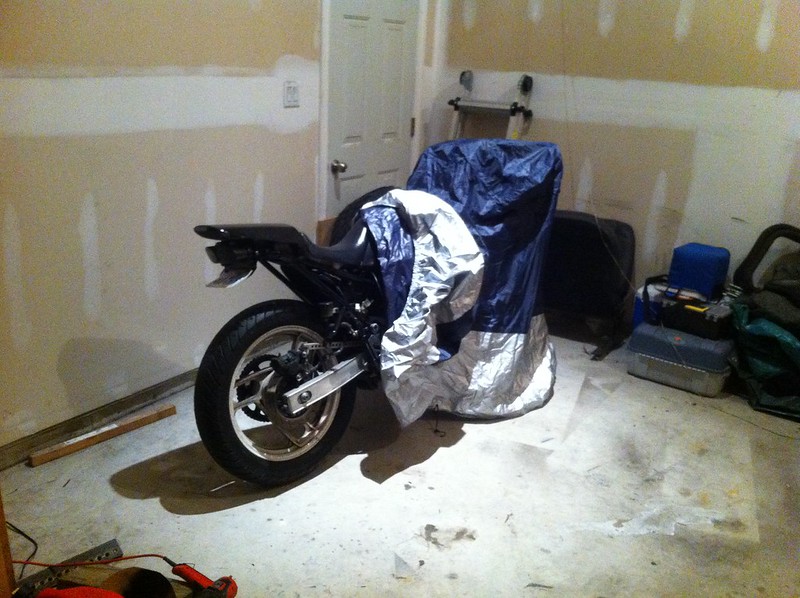
While I’ve been waiting for parts… I modified the back end because the original box style is SUPER UGLY and doesn’t match the flow of the bike whatsoever. I also got an LED tail light for a Ninja off fleabay and a rear seat cowl off a GSXR for the tail piece. I’ve fiberglassed the cheap plastic so it’s solid now, and made a custom bracket that holds the tail light, license plate, and rear cowl on.
Untitled by feliks.ca, on Flickr
Untitled by feliks.ca, on Flickr

Untitled by feliks.ca, on Flickr
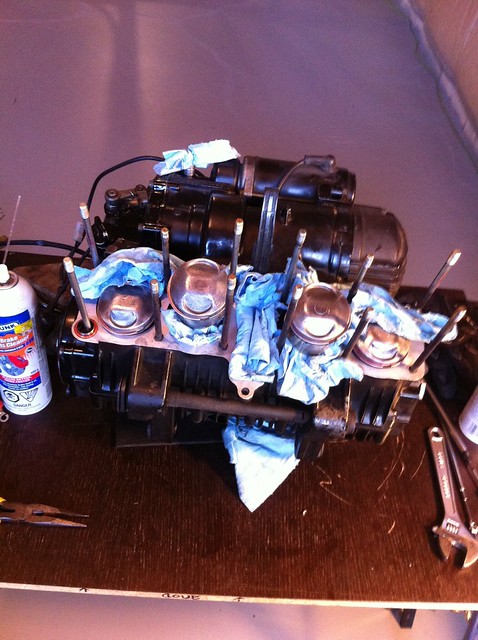
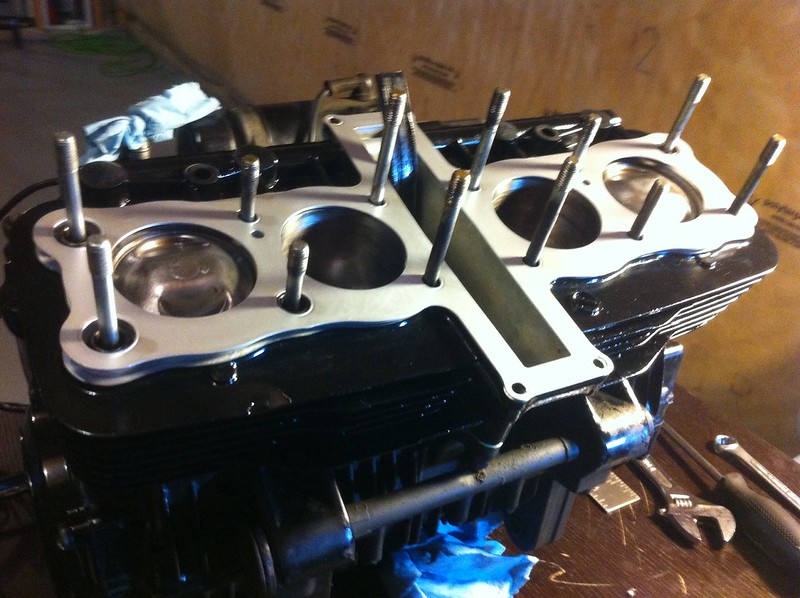
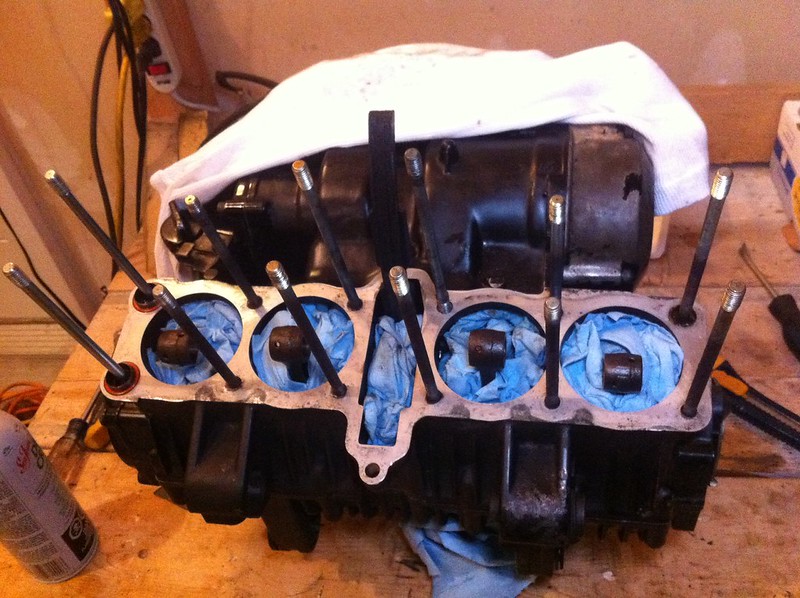
Now… I had a decision to make. I was burning about a liter of oil every 200kms which is quite excessive, so I made the call (after some persuasion by some very intelligent people!) that I should rip the motor apart and rebuild the top end so it’s fresh for summer, instead of waiting to fix it then!
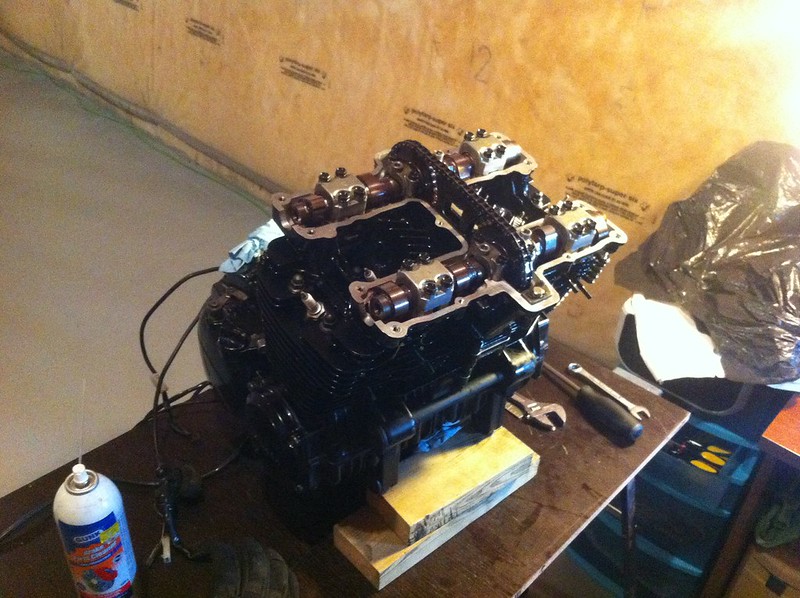
So that’s what I’ve been doing. This is my first time ever ripping into an engine, and so far everything has been going quite well! I’ve been putting a great amount of time and care into this rebuild to make everything perfect. I haven’t run into any major problems along the way, and I’ve been able to call upon some forum members for help, so it’s been pretty awesome to have that help on call.
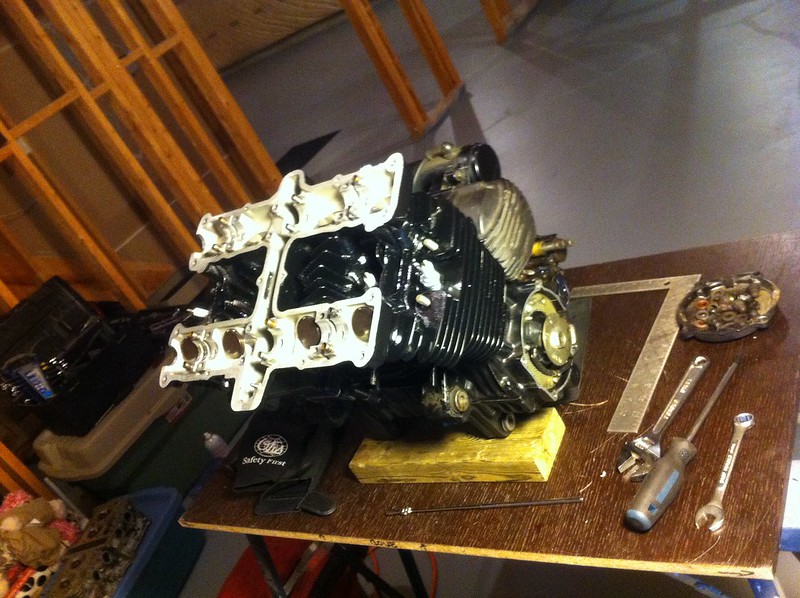
Bottom end is staying as is, clutch, gears, everything down there is good. I will replace the oil pan gasket while I have everything apart though.
Untitled by feliks.ca, on Flickr
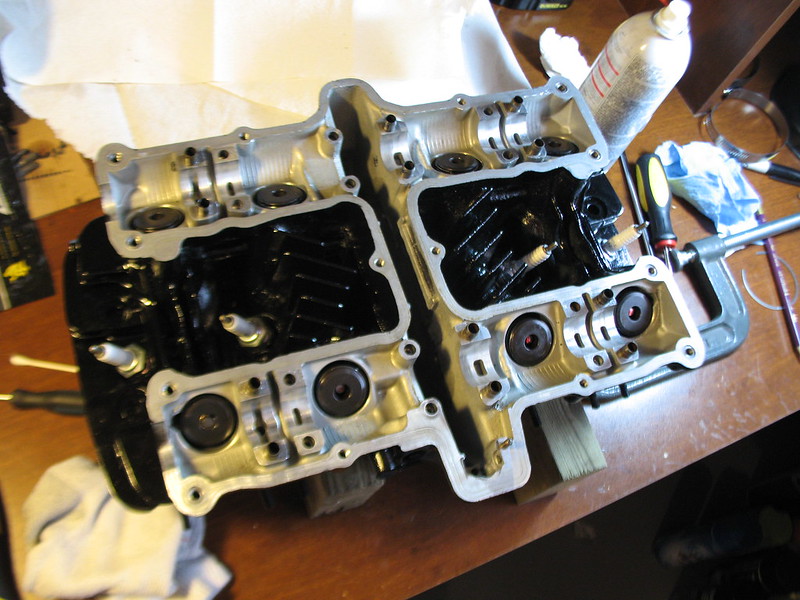
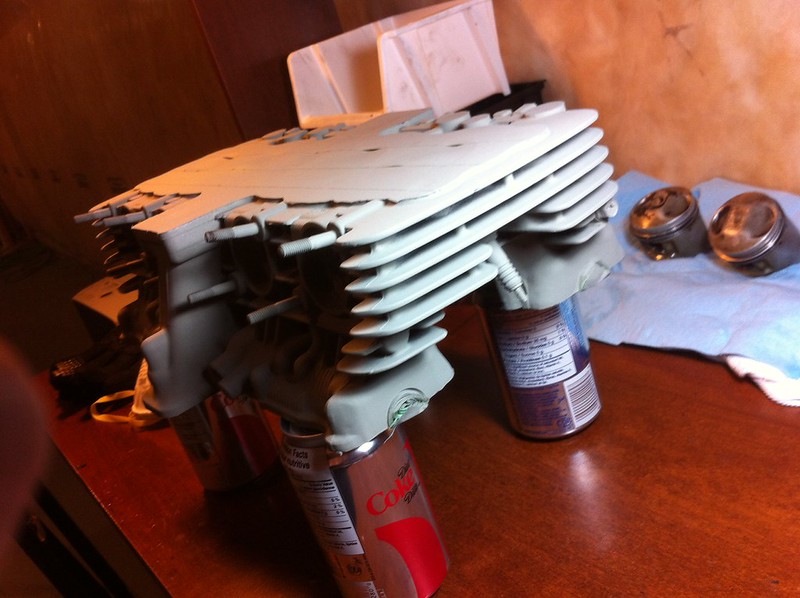
Primed and painting the top end while it’s apart…
Untitled by feliks.ca, on Flickr

Untitled by feliks.ca, on Flickr

Untitled by feliks.ca, on Flickr
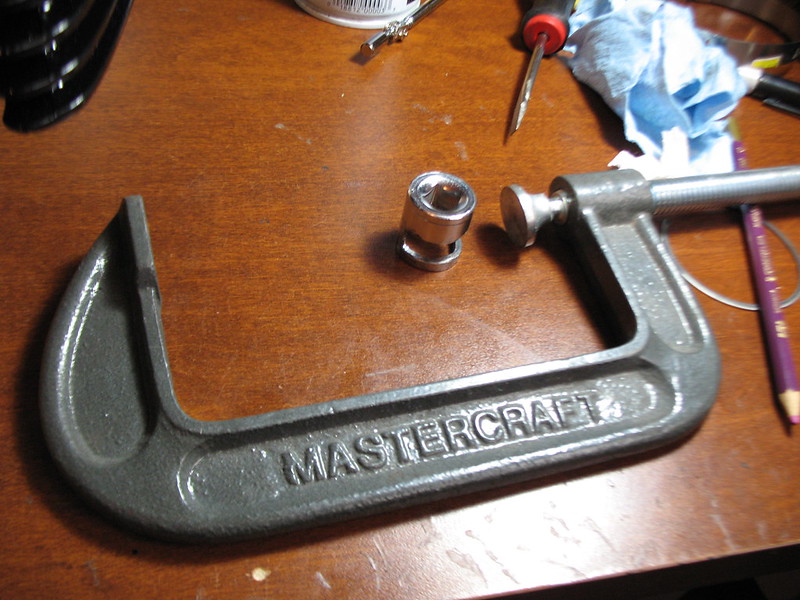
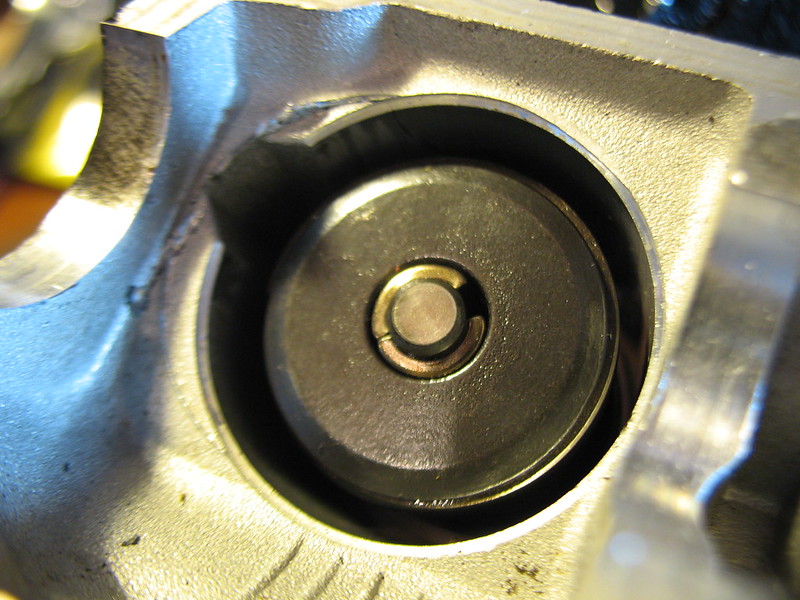
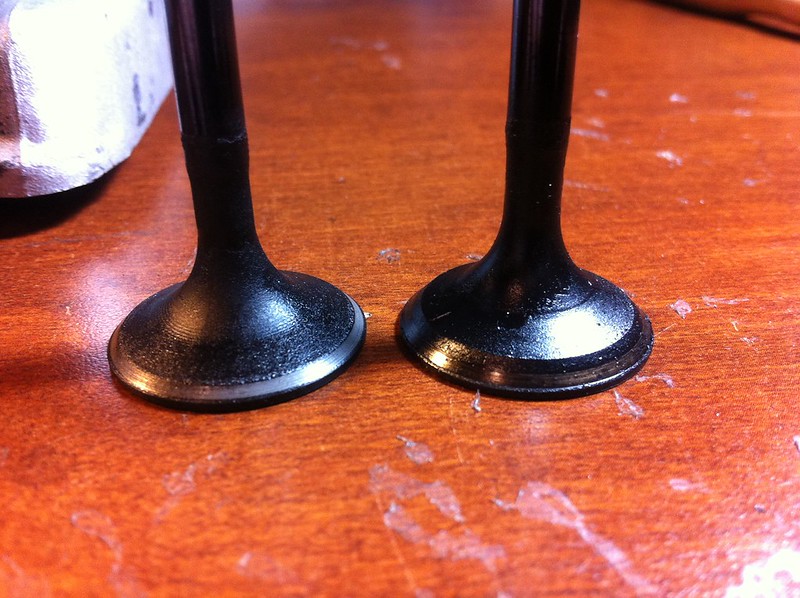
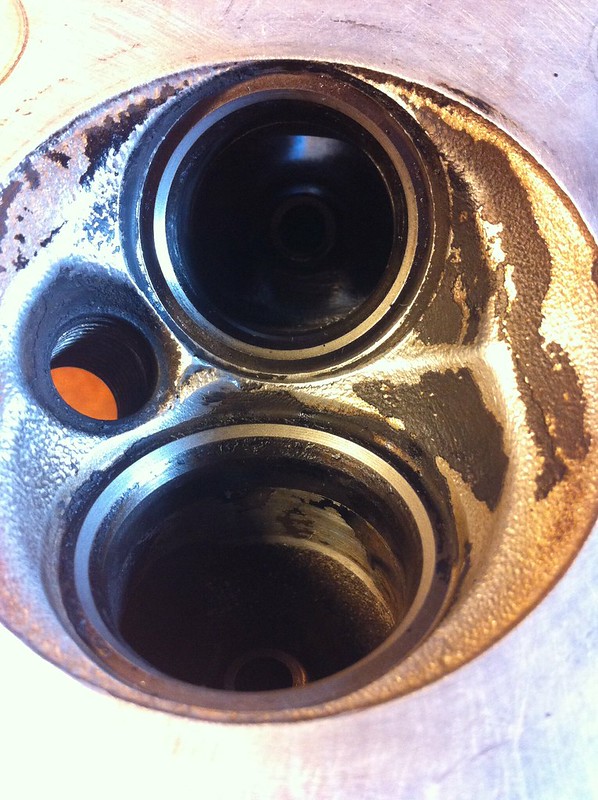
And re-lapped the valves…
Untitled by feliks.ca, on Flickr
Untitled by feliks.ca, on Flickr
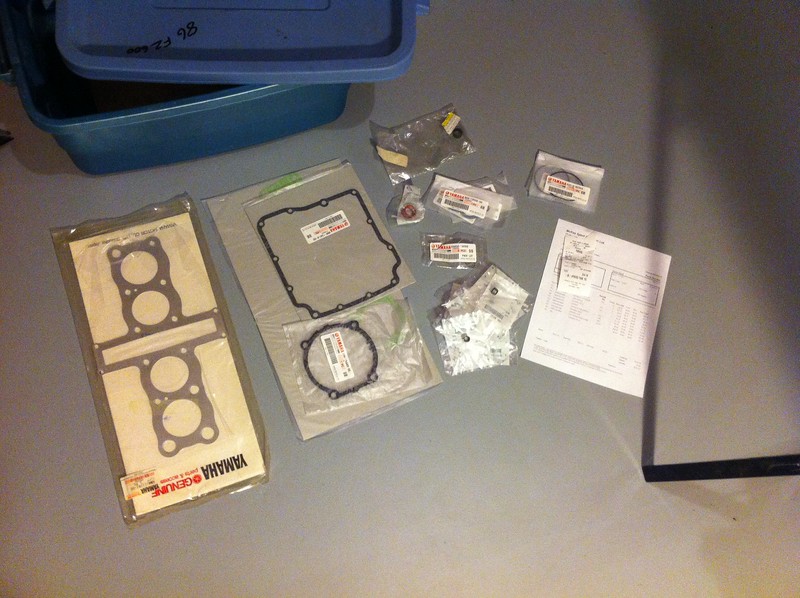
Now… I play the waiting game with Yamaha! I need pretty much every gasket now for the top end…only one I have is the valve cover gasket…which doesn’t do me much good without the rest of the stuff!
Anyway, I’ll post some updates here as I go in case you’re interested! Thanks for looking!
Build is COMPLETE! Took just over a month to get the engine apart and back together, and everything ran beautifully! Been enjoying the bike already.

********************************************
Welcome to my build thread!
I’ve been posting at yamahaclub.com but I thought I would share my progress with my fellow GTAer’s as well!
Here is my 1986 FZ600, the day I picked it up.

Feliks and the 1986 Yamaha FZ600 by feliks.ca, on Flickr
I was super excited, seeing as how it’s my FIRST MOTORCYCLE EVER!!!
When I bought it, it wasn’t running. I paid $900 for it, on the sellers word that it worked, but the battery was dead. I knew I was taking a chance but everything appeared to be in good shape, so I pulled the trigger. Also, it was either buy it, or not get one at all…since I had barely talked the wife into “letting” me get this… lol So, paid the guy and loaded it up in the back of my Ram.
First thing I did was buy a battery, charge it, put it in, and try and start it. That was stupid. Because….it started right up, and I was very surprised the guy was actually good for his word. The reason this was stupid, is because I didn’t check the basics. Like spark plugs….for one. Anyway, I got on the bike because I was just way too eager to learn how to ride and pulled it down the driveway, and off I went. Took it down the street, made a nice controlled turn, and brought it back. WOOO! First ride ever was a success! I didn’t fall, spill, stall, or do anything else embarrassing. Awesome. What a rush too, just going down the street and back without peddling or walking, or driving in a cage! lol
So back to why it was stupid… After driving around town and getting to know the bike… I brought it back home, went to crappy tire and picked up some new plugs for it, since it was sputtering quite a bit. While I was putting them in, I noticed one of the original plugs was loose, and the frickin wires were in the WRONG ORDER!!! WHAT!!! So…after fixing that & putting new plugs in, I started it up, and almost jizzed in my pants. Sorry for the visual….but I’m sure you’ve all been there. Well…maybe some of you have. I was just like….OMG. Damn, when that thing fired up and I cracked the throttle open.
Anyway, pulled it out for a REAL spin this time and the feeling was literally indescribable. If you’re reading this and you ride, you know what I mean. If you’re reading this and don’t ride, what the fcuk are you waiting for?
Anyway, I got a couple good… make that AMAZING months of riding in before the snow came, rode up until December 10[SUP]th[/SUP]… before I parked it and then started winterizing it. But I didn’t stop there…
Before I parked it, I got rid of the purple pin striping and gave it an all black paintjob.

1986 Yamaha FZ600 by feliks.ca, on Flickr
While I’ve been waiting for parts… I modified the back end because the original box style is SUPER UGLY and doesn’t match the flow of the bike whatsoever. I also got an LED tail light for a Ninja off fleabay and a rear seat cowl off a GSXR for the tail piece. I’ve fiberglassed the cheap plastic so it’s solid now, and made a custom bracket that holds the tail light, license plate, and rear cowl on.

Untitled by feliks.ca, on Flickr

Untitled by feliks.ca, on Flickr

Untitled by feliks.ca, on Flickr
Now… I had a decision to make. I was burning about a liter of oil every 200kms which is quite excessive, so I made the call (after some persuasion by some very intelligent people!) that I should rip the motor apart and rebuild the top end so it’s fresh for summer, instead of waiting to fix it then!
So that’s what I’ve been doing. This is my first time ever ripping into an engine, and so far everything has been going quite well! I’ve been putting a great amount of time and care into this rebuild to make everything perfect. I haven’t run into any major problems along the way, and I’ve been able to call upon some forum members for help, so it’s been pretty awesome to have that help on call.
Bottom end is staying as is, clutch, gears, everything down there is good. I will replace the oil pan gasket while I have everything apart though.

Untitled by feliks.ca, on Flickr
Primed and painting the top end while it’s apart…

Untitled by feliks.ca, on Flickr

Untitled by feliks.ca, on Flickr

Untitled by feliks.ca, on Flickr
And re-lapped the valves…

Untitled by feliks.ca, on Flickr

Untitled by feliks.ca, on Flickr
Now… I play the waiting game with Yamaha! I need pretty much every gasket now for the top end…only one I have is the valve cover gasket…which doesn’t do me much good without the rest of the stuff!
Anyway, I’ll post some updates here as I go in case you’re interested! Thanks for looking!
Last edited:

